Overview
The ceiling in the crew compartment can be broken out into three regions based on the restoration work required:
- The right side steel work.
- The left side steel work.
- The center clearstory preparation.
- The finishing work of all areas of the ceiling.
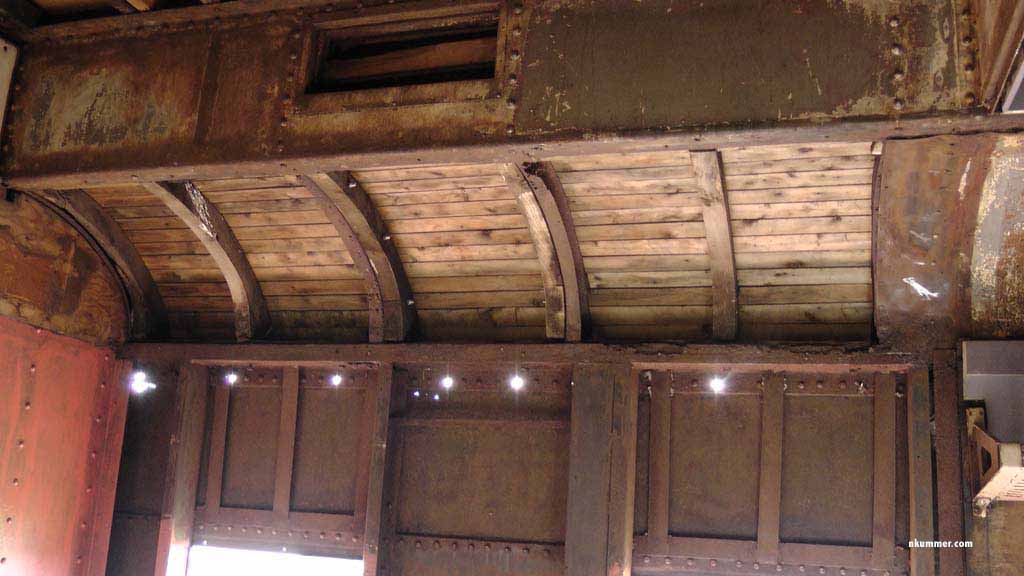
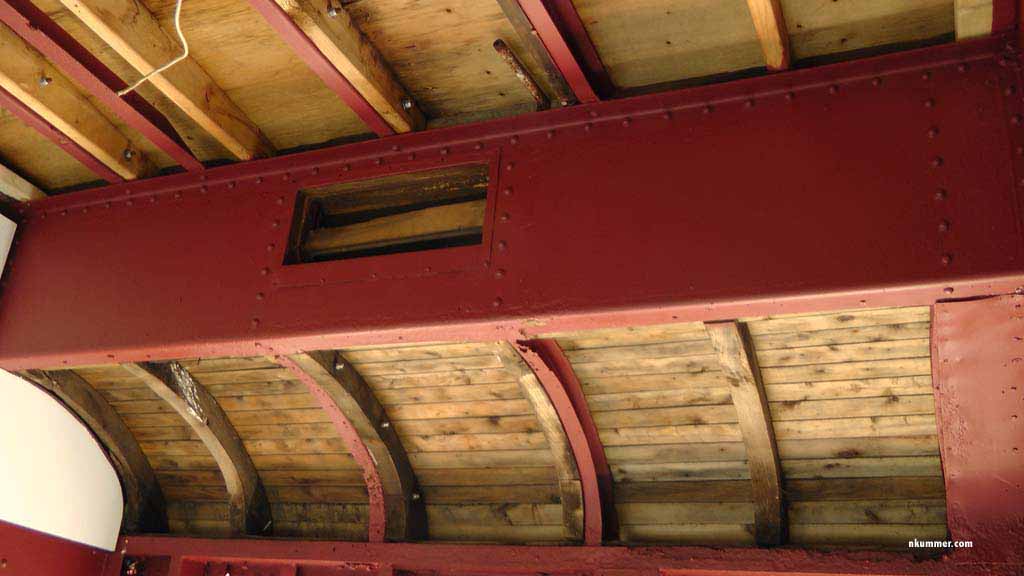
Right Side Steel Work
May 24, 2012 – The picture below shows what it was like when I inspected the car. The wood on the curved section had been replaced by a previous group of volunteers around 1994. Fortunately the wood was still good at this point. Whatever covered the steel rising into the clearstory is long gone.
This is after I grinded/sanded the steel and painted it with a primer. At this point it is ready for finishing.
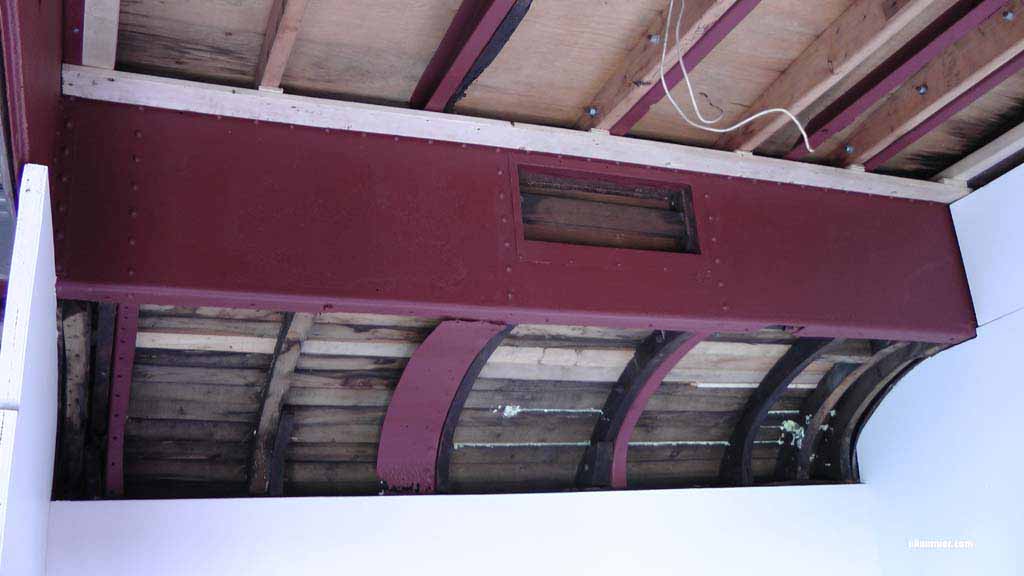
Left Side Steel Work
May 24, 2012 – The picture below shows what it was like when I inspected the car. The wood on the curved section had been replaced by a previous group of volunteers around 1994, but it had once again deteriorated. It was these holes that caused the floor to deteriorate and they had to be replaced. See “Crew Compartment – Floors” for more details on that project. While working to replace the roofing paper, this portion of the wood was replaced.

This is after I grinded/sanded the steel and painted it with a primer. At this point it is ready for finishing. Notice the lack of sunlight from above J. By this point I have also repaired the roof.
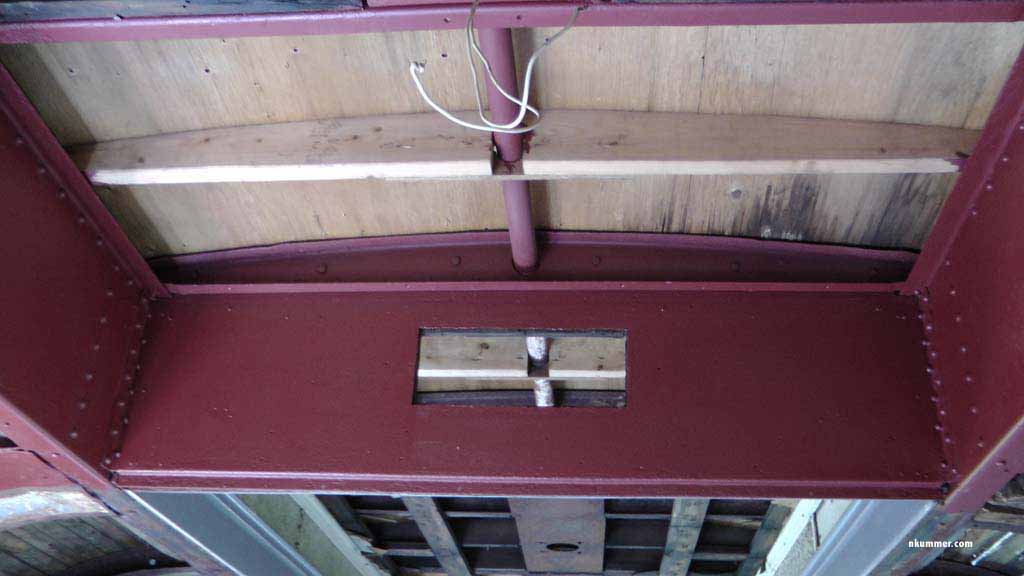
Center Clearstory Preparation
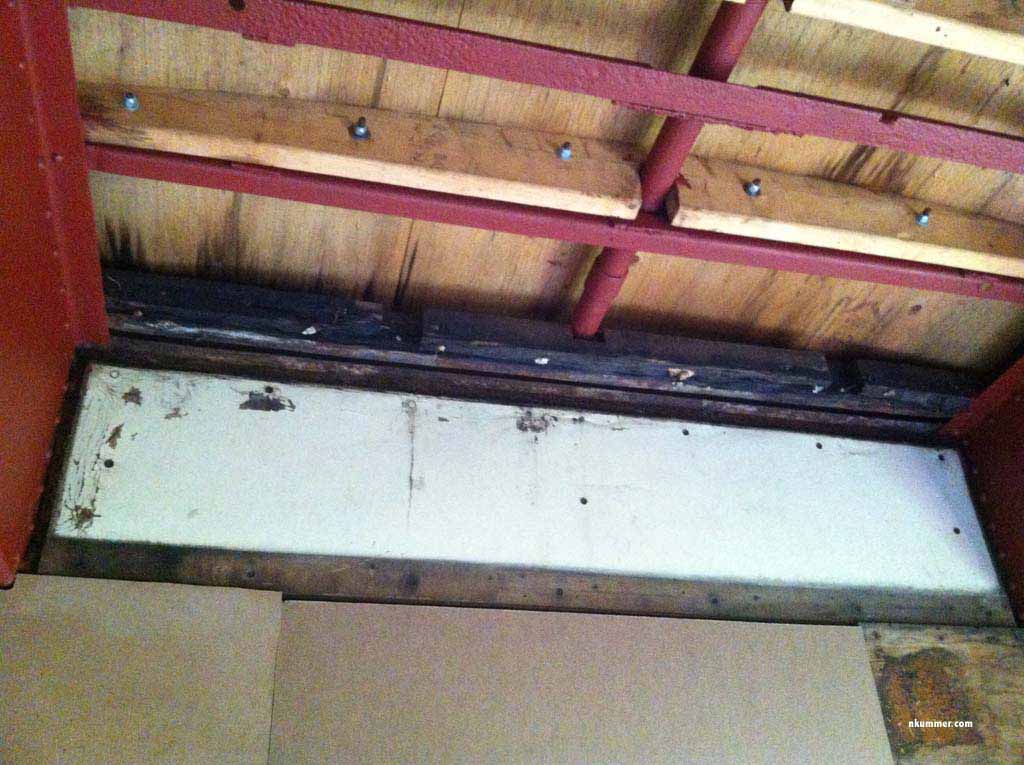
This is ceiling as it looked when I took over the car. Notice that the roof is plywood, not standard tongue and grove planks. When the roof was redone in 1994, it was replaced with a much more cost effecting plywood covering. As both sides of the plywood will be covered, it is an acceptable solution.

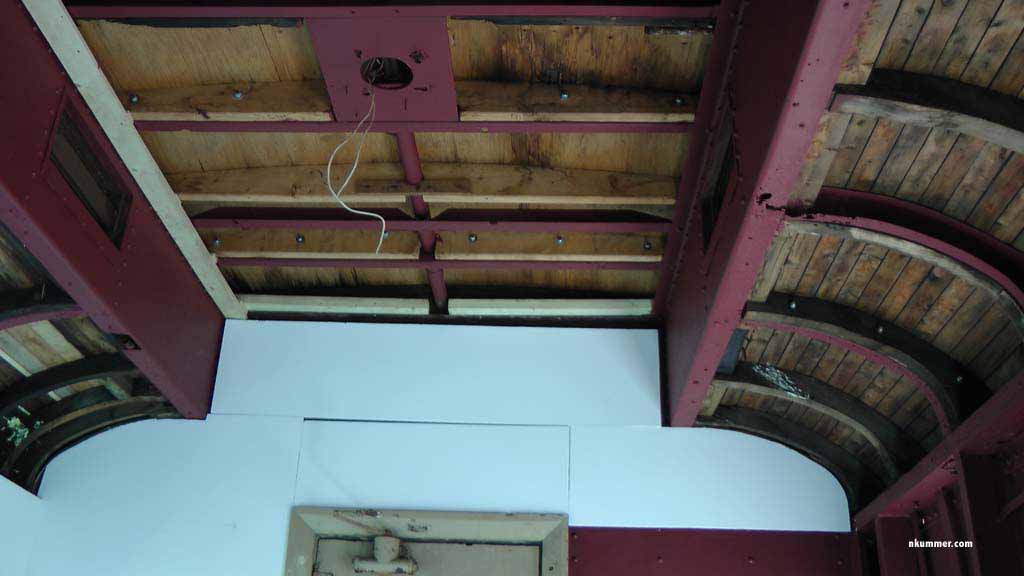
August xx, 2012 – The clearstory steel has been sanded down and primed. Notice that on the partition section purlin, the wood is missing. I know there was some as I could see the old screws still in the steel. I assume it was rotten and removed during the previous roof renovation. It is required to hold the strapping for ceiling panels, so it was the next project. However, as it turns out, that would not take place until almost a year later.
August 22, 2013 – One year later! Here are the two pieces that are to go in the purlin. Because of all the rivets in the steel, it is required to remove the wood in this area to get it to fit snug against the steel.
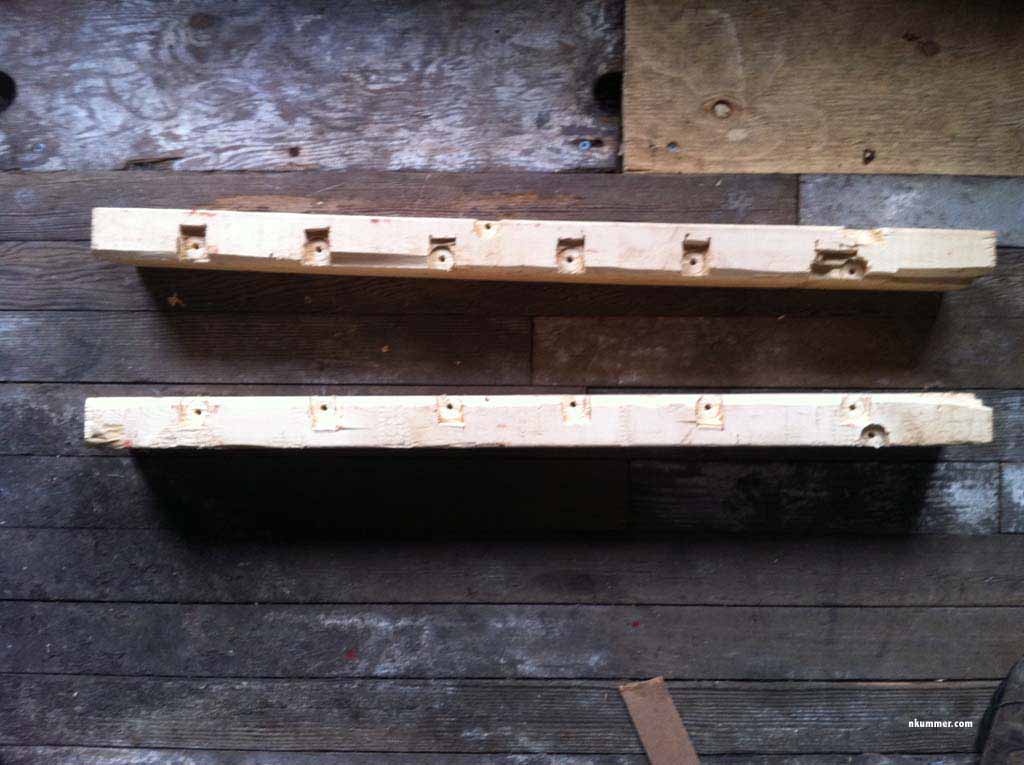
August 22, 2013 – Installed and ready to hold the strapping.
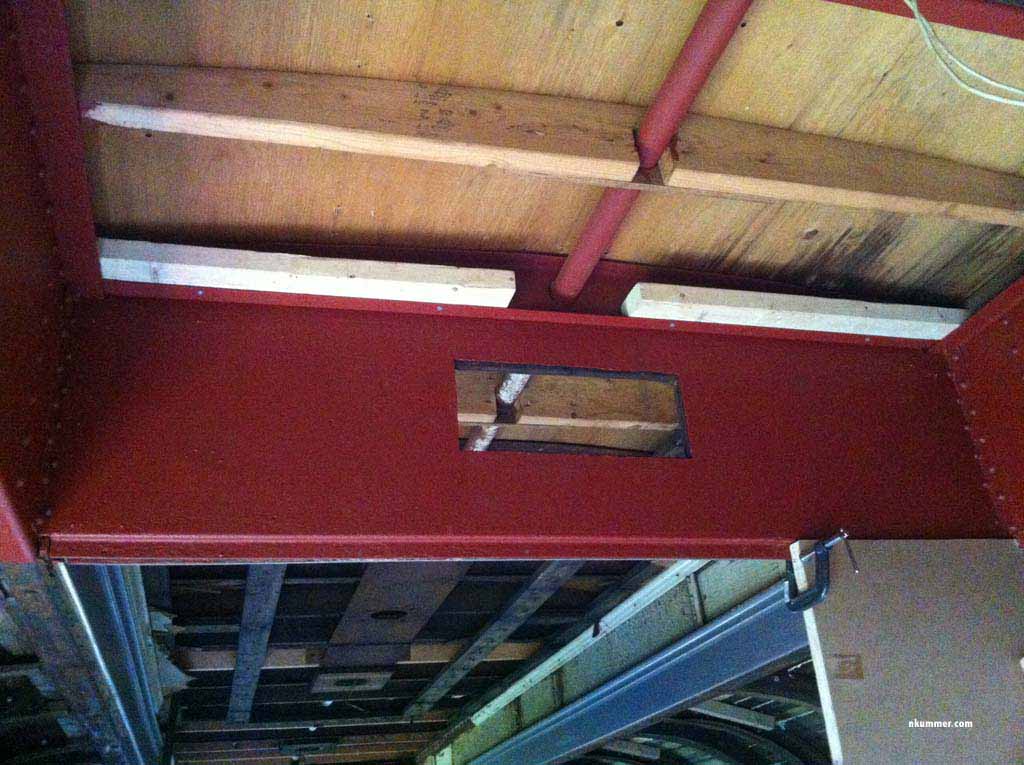
August 22, 2013 – The similar piece of wood on the other side of the crew compartment over the exit door is also rotten.
August 22, 2013 – And also replaced. This picture was taken much later after the walls and been primed.
Finishing Work
This part of the web page documents all the work to add the finishing hardboard and trim over the entire ceiling.
This work is not yet done, and as I complete this work I will add it to here.