Project – Winter Window Covers
As the car always sits outside, there needs to be something to cover the windows in the wintertime to protect them from the snow, ice, and rain. It also helps protect the car from vandalism in the winter when no one may be around the museum property. In the case of 7195, it was important to make them the first season as there really wasn’t much left to the windows that were there. While some windows had glass in them, most of the frames were well rotted, and in the end I will have to make up all new windows anyway.
As making new windows is a long process, most of the window openings are going to remain without windows for a long time. I had to come up with a method of covering the windows that would work now, when there are no windows, and can also be used once I put the windows in place. In 7195 there are both outer windows and inner windows.
I looked at what Bytown Railway Society had done for their coach, but it was going to be difficult to adapt for 7195. Their solution assumed there was a window in place, and only a single window. It also took two people to install, and is not practical for daily removal and installation. I needed something that I could remove in the morning and put back in the afternoon, and do myself.
The end solution was quite simple. I cut a piece of plywood that fits over the outside flange of the steel window frame, put a threaded rod through it, and then used a 1×3 to secure it from the inside. As a picture is worth a thousand words, here is a completed solution.
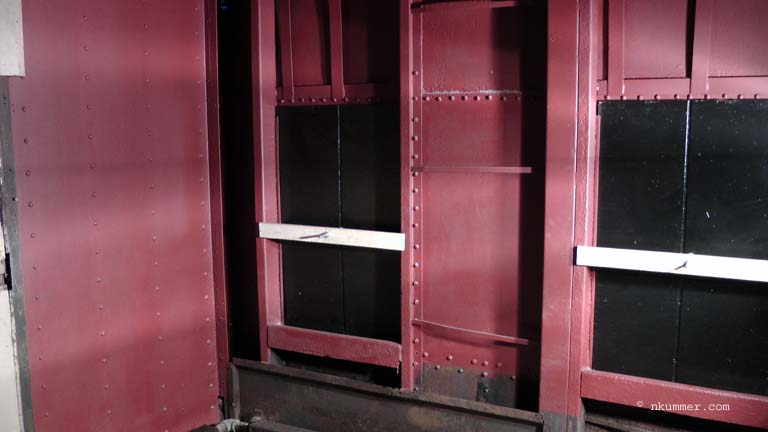
These window covers can be removed by simply loosening the hand tighten nut holding the 1×3 in place, turning the 1×3, and manipulating the cover so it can come back through the window opening from the inside. It takes only a couple of seconds to remove or install the cover, and it sits tightly in the window. The advantage of the threaded rod is that it accounts for different thickness of the “opening”. In some cases I have only steel walls, and in others I have a thicker wall as it is covered with its wood finish. The height of the rod in the opening is such that once the windows are installed, if they are raised (opened), these window covers can be installed.
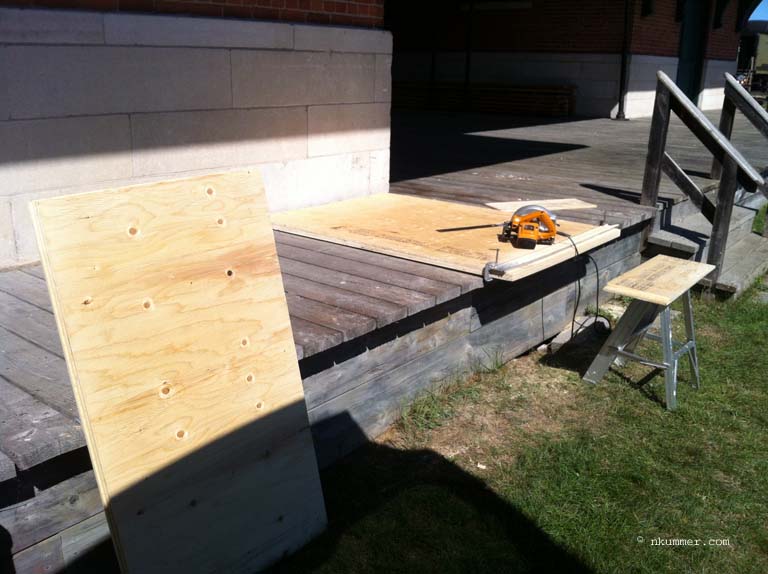
August 18, 2012 – The windows are cut from ½ inch think 4’x8’ piece of plywood. I can get three windows per piece of plywood. Here you can see the cutting in progress.
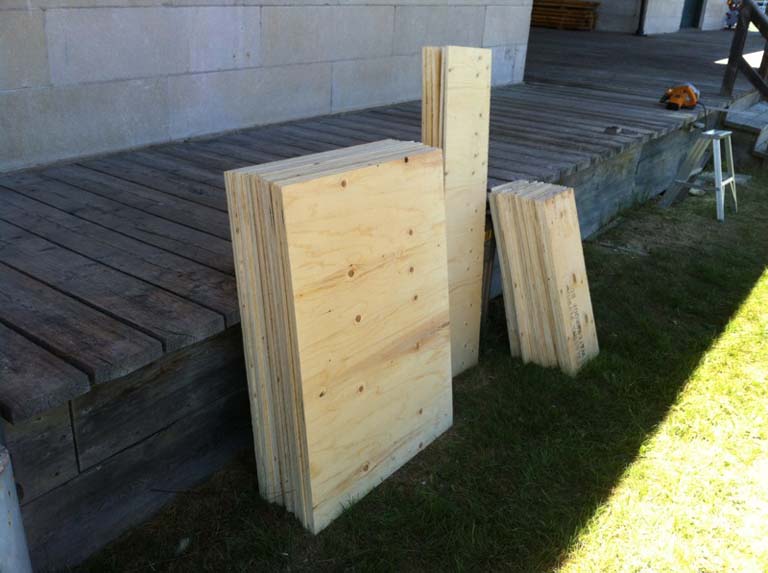
August 18, 2012 – All done. I had to make 22 pieces as I could reuse the two from the stove area of the crew compartment. The left over smaller pieces are finding a good home as I continue to work on the car.
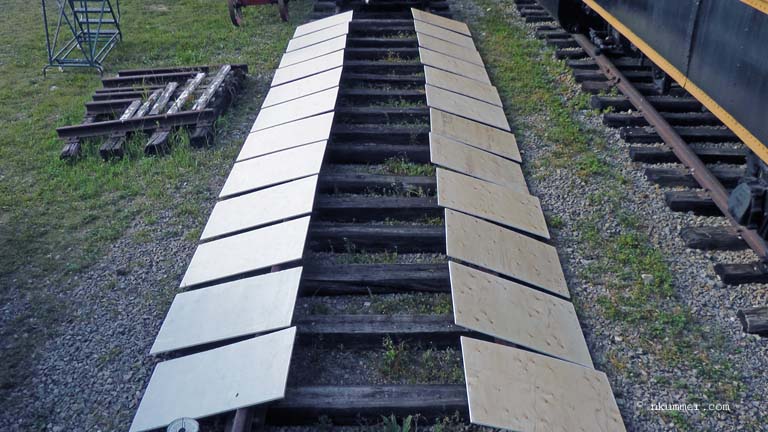
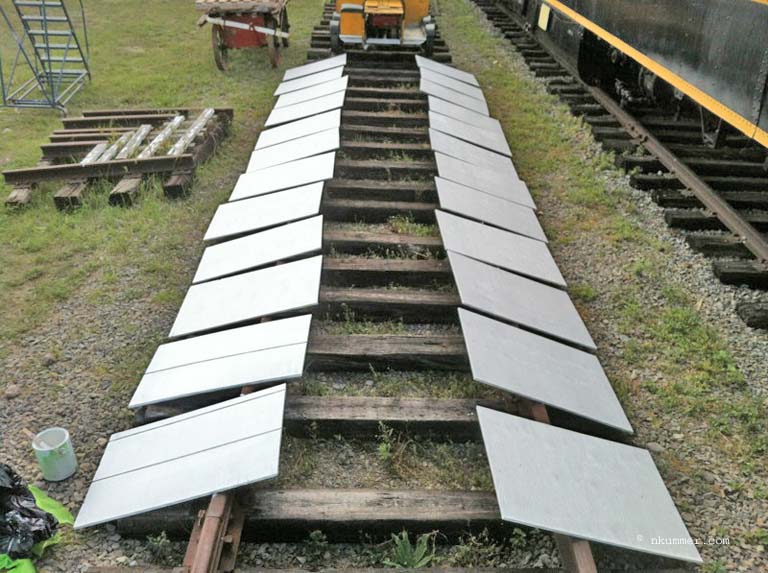
August 19, 2012 – Fortunately I had a nice run of rail to lay out all 24 window pieces. They are going to be painted with white primer and then finished in black.
August 19, 2012 – The windows have now been primed white.
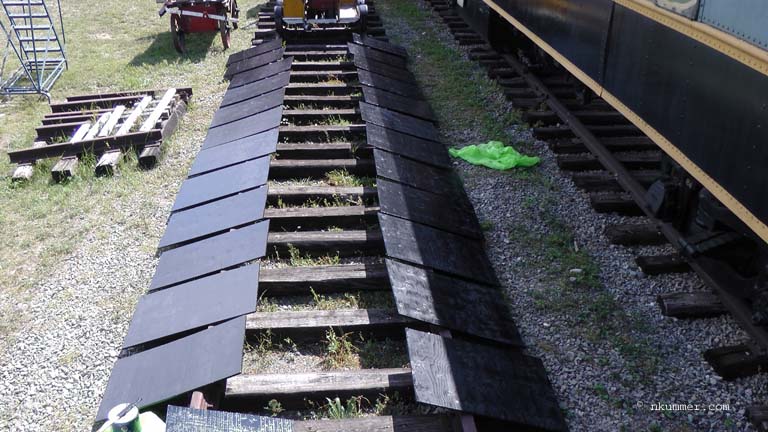
August 21, 2012 – The windows now have their coat of black paint. I put on two coats to make sure it would last.
This is how the look installed. This picture comes from the passenger seating area of the car. It is easy for me in the morning when I arrive to remove the window covers and let in some real light, or to quickly put them back when it starts to rain 🙂 .
