In 2012 when I took over restoration the car, one of the first things I needed to do was to repair the roof. By this time all the paper on the west side had disappeared and some of the wood had started to rot. On the east side and the center portion of the roof there were numerous water leaks. Over the vestibule on the front right (north west corner) the curved wood had never been replaced, leaving a large hole in this area. When I took over the car in 2012 another volunteer and myself work many days to patch the roof and make things water tight. In elapsed time, it actually took a few months as we needed ideal working conditions. I must give special thanks to him, as there was no way I was able to do all the repairs myself. Doing roof repair and laying new paper is definitely a two-person job.
August 12, 2012 – Here we have some scaffolding set up on the first corner of the car. I started on the left side (west side) as this area had no paper and water was literally pouring in during a rainstorm.
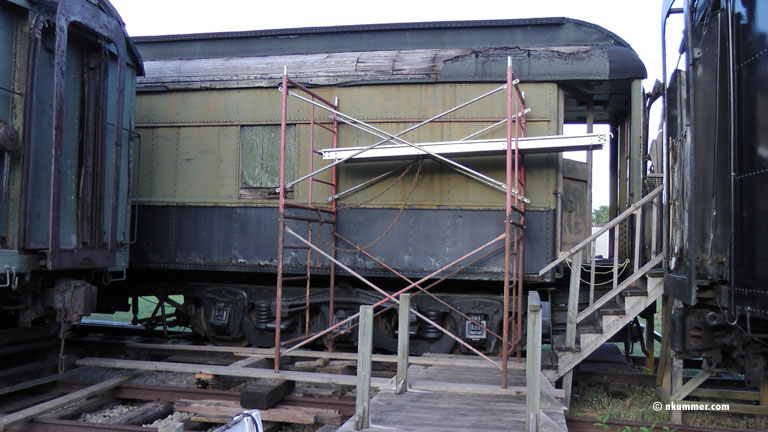
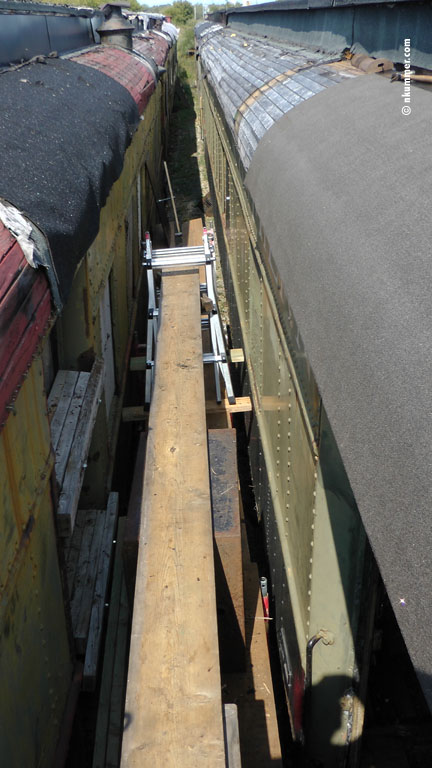
August 14, 2012 – I purchased some narrow scaffolding to set up between the cars. I had purchased two sets of 10 foot scaffolding with the intention of making it two sections high and then moving it along the car as I proceeded to do the work. Unfortunately the cars are leaning towards each other just enough that the second layer cannot be added. As it turned out this was not too bad, as it allowed us to have almost 30 feet in length of scaffolding if we used other boards for the platform (I had only one 10 foot length of platform).
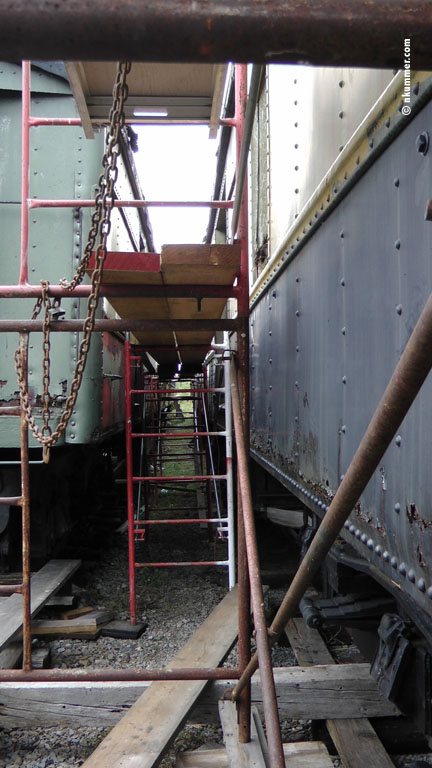
Here is the set up of the first 50 feet (as we could use the big scaffolding for the first section). This is the underneath view.
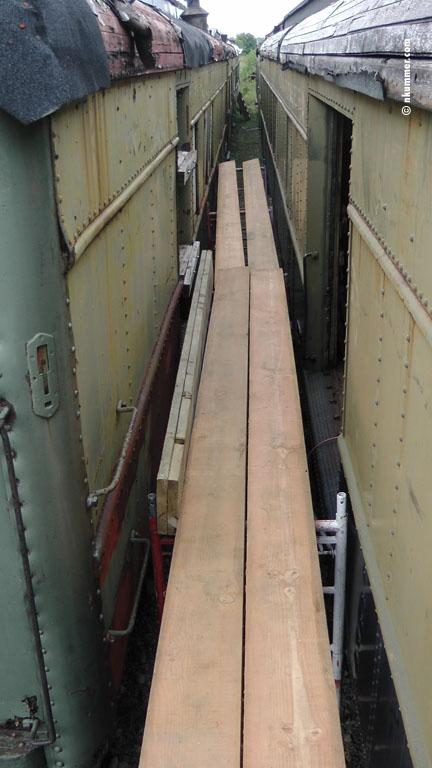
August 14, 2012 – A view from the top looking down at part of the scaffolding.
August 14, 2012 – While all that scaffolding was great, it still was not tall enough as I was not able to stack the two sections. This meant we improvised a second layer. Some buckets, a workhorse, a ladder, and some plywood to stabilize things and we were off. It actually worked very well.
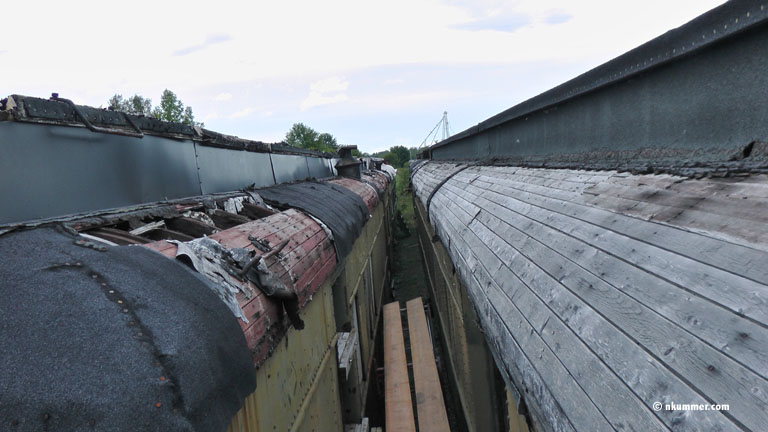
August 14, 2014 – Here we are looking at the back left side of the car. There is almost no paper left, and there are holes in the wood.

August 14, 2012 – Turning around, we are looking down the car towards the other end. The Combine is the car on the right. The car on the left is the RPO that also badly needs a roof.
August 14, 2012 – The wood has been repaired on the first section of the car.
September 07, 2012 – It was almost a month before we could get back at the car. Looking down the car, one can see that the first section now has its roofing paper applied.
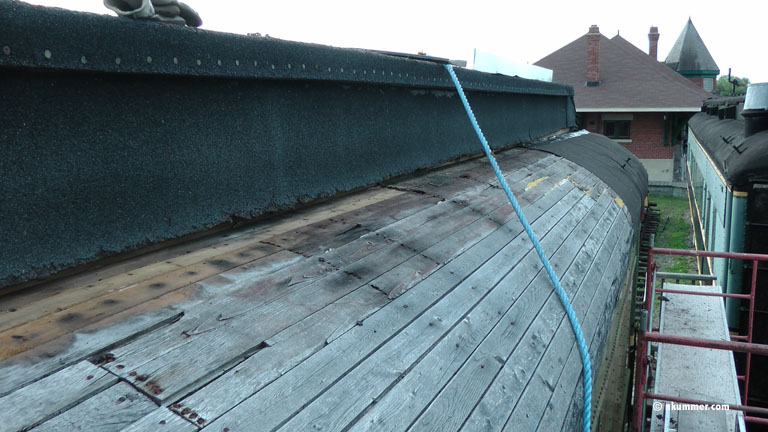
September 07, 2012 – Progress in being made and we have completed about half the roof on this side. One will notice that I have used a metal flashing on the corner into the vertical clearstory. Part of the original problem was that the roofing paper came down and curved on the slopped roof. Over the years the paper shrank, pulled away from the wood, and eventually ripped. This then just progressed until the paper completely disappeared. Normally the vertical portion is steel, with paper only on the top and the curved section. One day when I redo the roof properly, I will return it to this structure. In the meantime I did want to have redo the entire vertical portion, and I did want to have the same thing happen again, so I used flashing to make the corner more durable.

September 09, 2012 – We are slowly moving along the roof, but still have more to go.
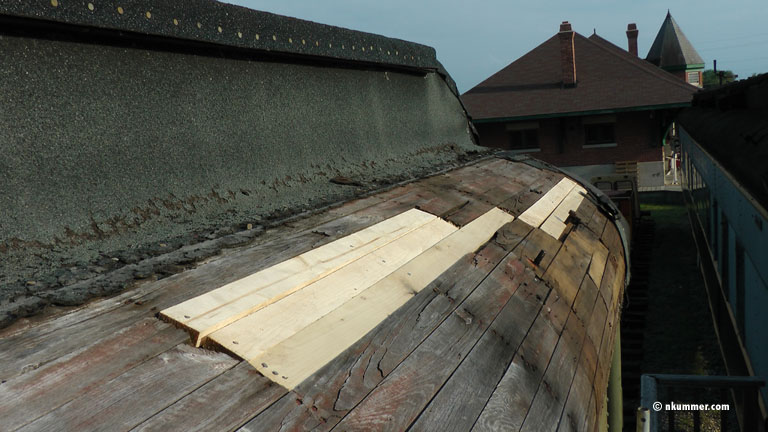
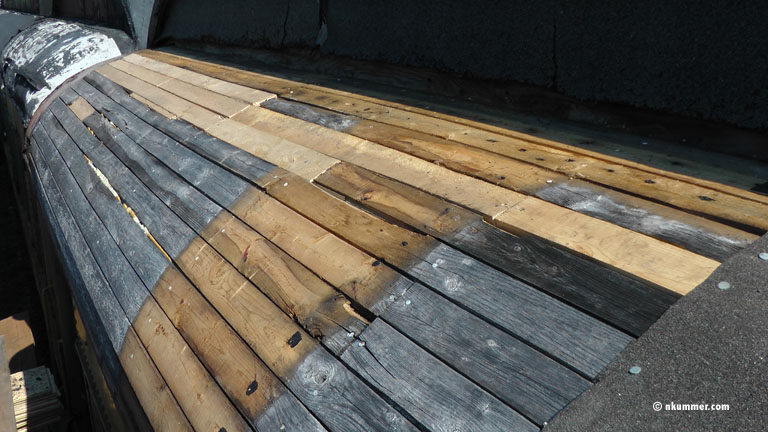
September 13, 2012 – We have now moved the scaffolding down the car and are working on the far end. The gray color wood is what has been exposed to the weather for quite a while. The light coloured strip is where there was still some paper (which we removed), and the light color strips of wood are what we just replaced.
September 13, 2012 – We have finished that side of the car.
September 23, 2012 – I don’t have any other pictures from the other side of the car that we fixed. We did replace a significant portion of the paper there as well, and we also had to put new paper on about 60% of the flat roof portion. Here is our set up for working on the flat portion of the roof. The big scaffolding was used as our main statging as now we could get it too levels high.
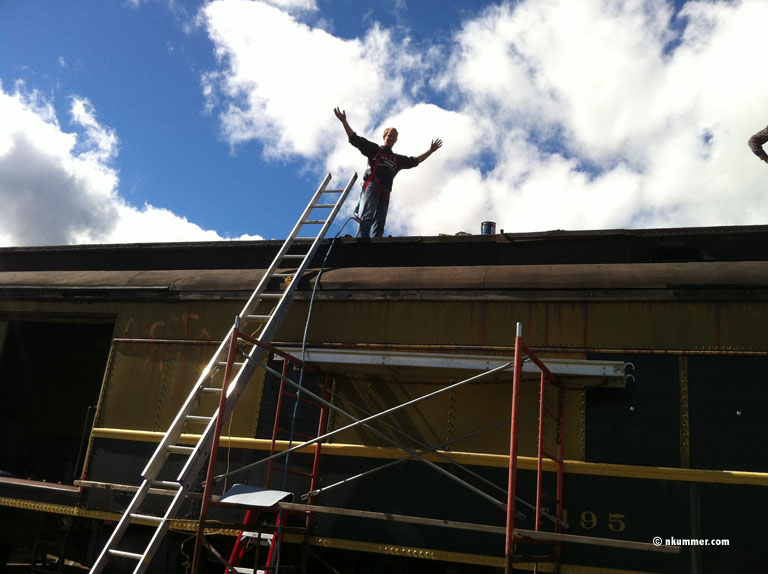
September 23, 2012 – Me on the roof.
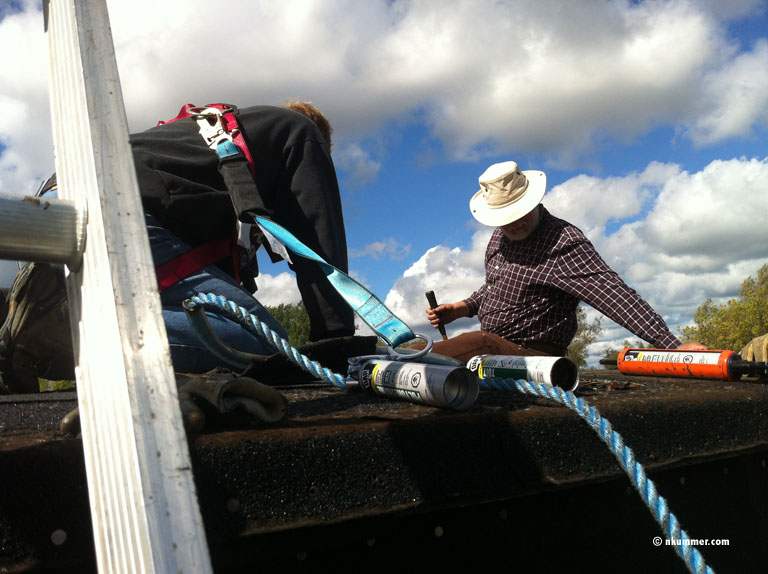
September 23, 2012 – The other volunteer and myself doing some roof patching. By this point we are pretty much done repairing the roof. One can see the caulking tubes. I used about 8 tubes on the car sealing all the joints I could find. Every edge, including under the flat roof drip edge, and along all the flashing and every paper joint was caulked. I want to make sure nothing leaked.
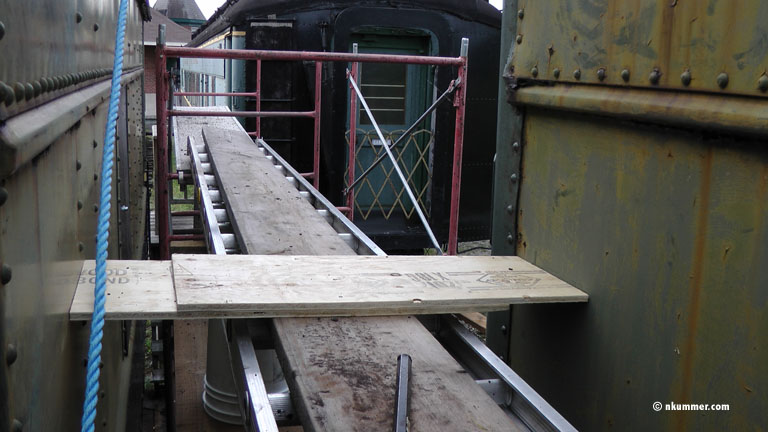
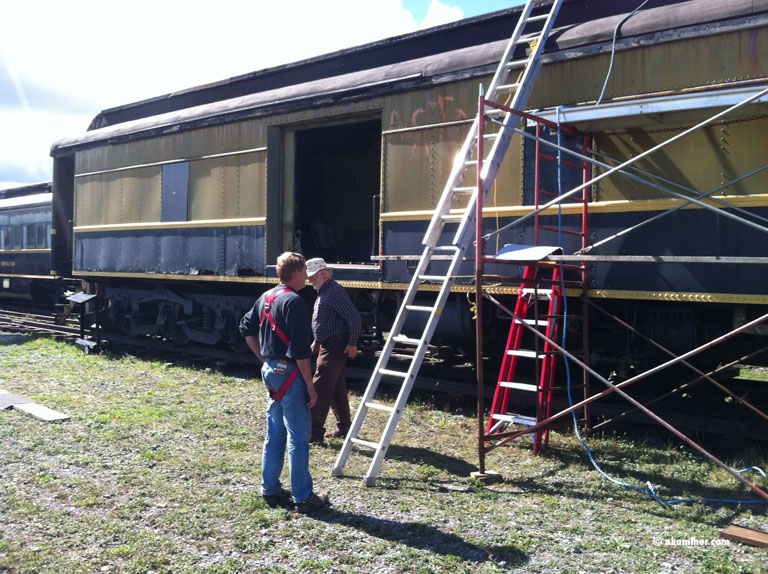
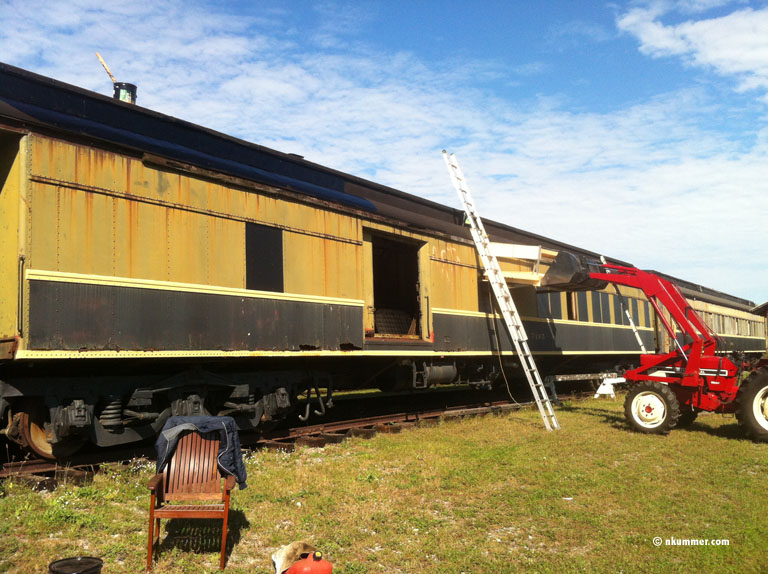
Once all the paper was on the roof it was time to put the liquid roofing tar over the whole thing. As it was my first time, and I wasn’t sure what I was doing, I did most of it the hard way and it took me about 3 very long days. I don’t have any pictures from this work. In the fall of 2013 in needed a recoat, and this time I was a bit smarter. I could probably have done it in one day, but due to the dew on the roof I was not able to start until almost noon. Overall it took me about 1/3 of the time it did last year. Below is a picture of the setup I used to get up and down from the roof.
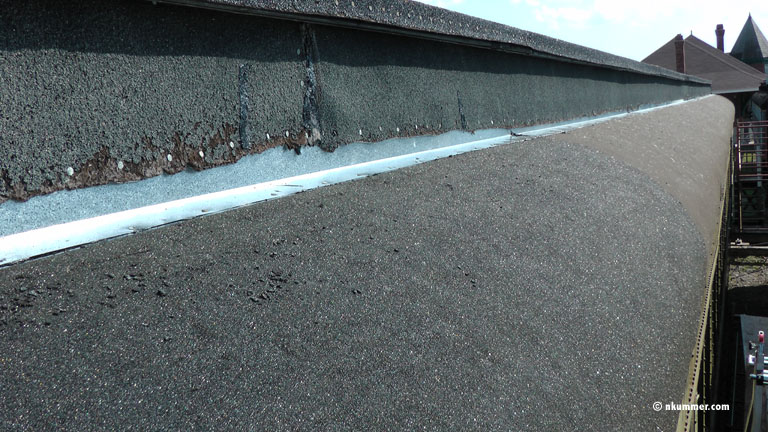
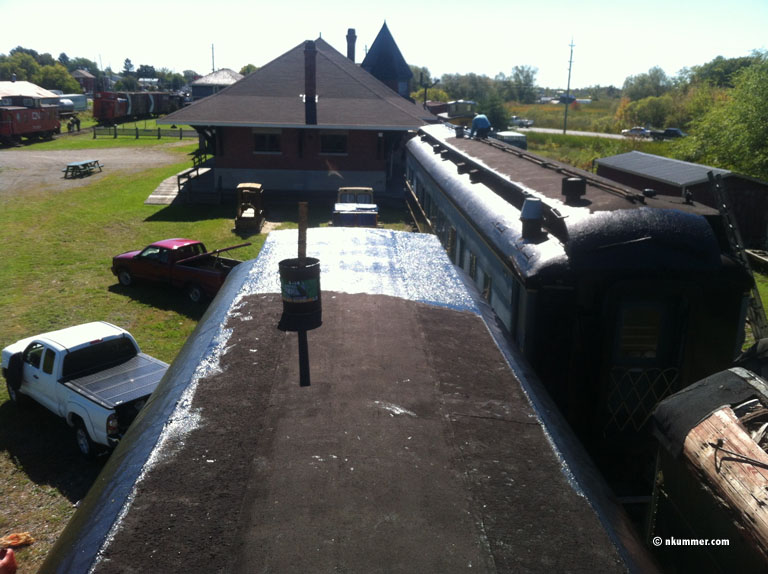
September 19, 2013 – In this picture you can see that I am applying the tar to the center portion of the roof. I have already done both sides of the roof. At this point I only have the center section to roll, and it goes very fast. Earlier I explained that the tar must be added every year or the roof will deteriorate. In this picture you can clearly see what I have done this year and what has been done last year. It almost looks like I did not apply it last year. It really does need to be done every year if it is too last. Note that if you look carefully you can see another volunteer doing the dental car at the same time.
So this is where I am at today. As I do any more work on the roof I will document it on this pages.