Overview
Within the Crew Compartment there are 4 window openings, two on the left and two on the right. This section documents the restoration of the steel for the window openings.
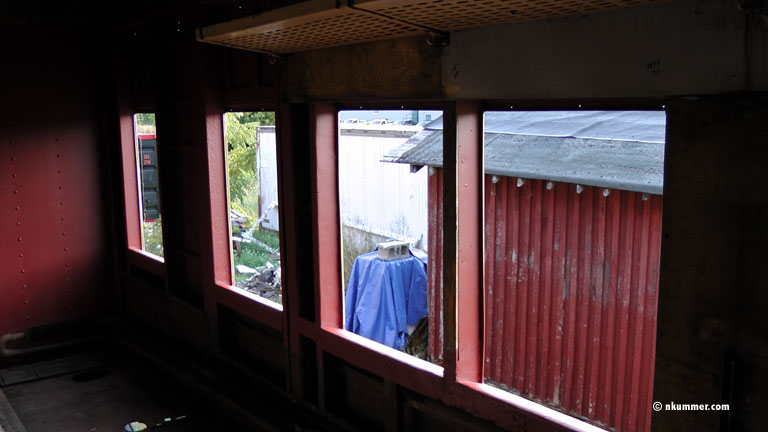
The two window openings on the right, the ones behind the wood stove, were sealed with plywood since the 1956 renovation. This was because the wall was covered in galvanized steel and insulation to protect it from the heat of the wood stove.
The two window openings on the left contain normal double windows. The window restoration itself is covered under another section in this web site.
These four window openings were not in as bad shape as many of the other ones in this car. In general, what has happened is that the windowsills have rusted out, and in some cases formed some large holes through to the interior. Fortuately this was not the case with these openings. Below I have some pictures of the restoration of these openings.
Right Side
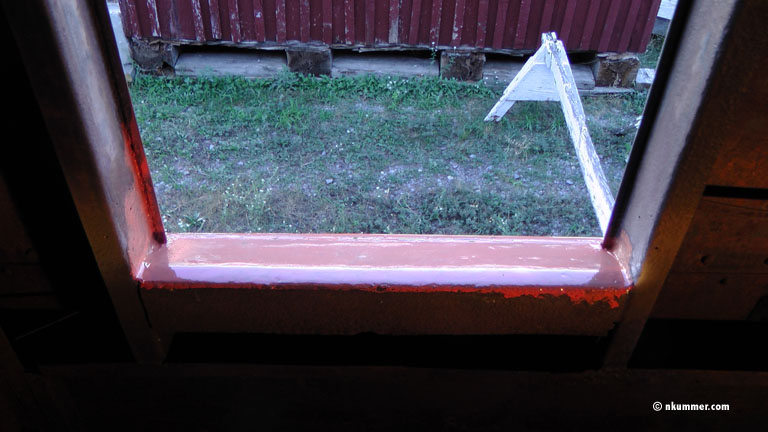
Below I show the first window opening and how I smoothed the surface back out. The first thing I did was to use a wire brush with my grinder to remove all the surface rust and get it back to clean steel. Once I had that done, I then filled in the surface pits (there were no through holes in this case) with body filler.

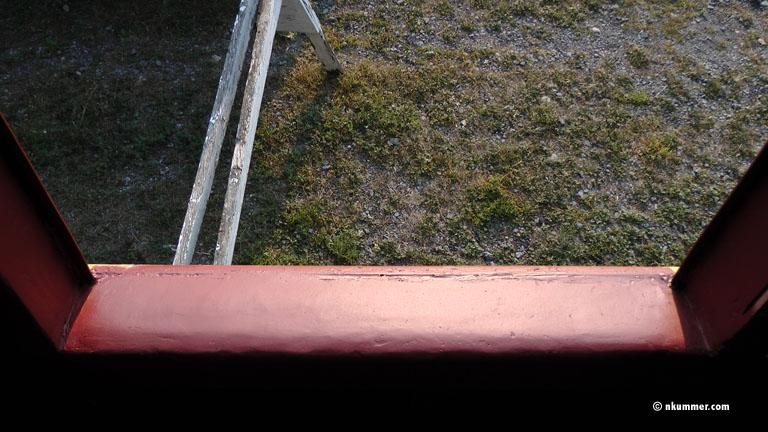
Here the window has had a first coat of primer added to it. Note that I also wire brushed the sides of the window opening to remove any old paint and rust.
A view of both windows with their first coat of primer. I did the front wall and windows at the same time, and as I noted in the front wall page, the technique I used was not at all satisfactory. After this I used a good brush from the corners and a 4 inch brush for the surface areas. This works out perfect for doing the window openings.

Here we can see one of the windows completed and primed. I have been able to get the windowsill reasonable smooth again, and good enough for my purposes. There are two reasons that I am not aiming for perfection. The first is that this is restoration project and it is not the goal to make the car look like it is new. Additionally, most of the windowsill will be covered with a wood windowsill and then the windows itself, leaving very little of the steel actually visible.
A view of the completed windows openings. In this case I actually did the first four openings at once, with the two closest ones being in the Passenger Compartment.
Left Side
This is a view of Window 24, the window next to the front wall. At this point I have wire brushed down the steel and filled the surface with body filler.
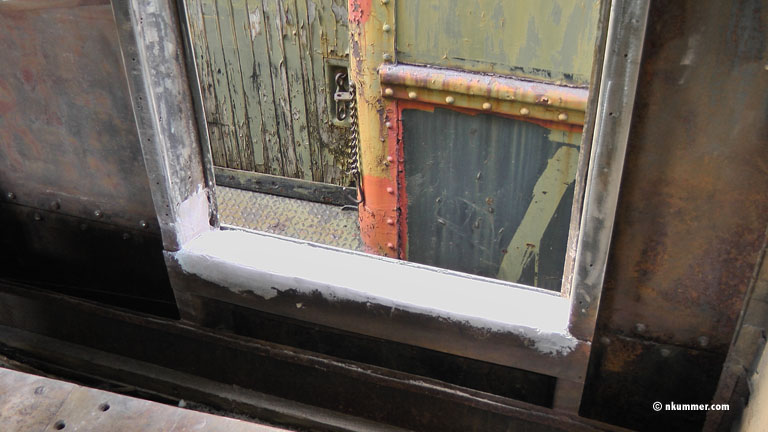
This is a view of Window 23. In this case the steel was in great shape and all it needed was a good wire brushing to remove the surface rust and paint.

This is view of the completed work. I actually did the walls at the same time as the window openings as it is much easier to do everything in one go.
